So, you’ve searched the globe and found the perfect beans to make your chocolate...
They’ve arrived in your workshop where you’ve lovingly hand sorted them to remove any impurities…
AND you’ve roasted them to perfection, filling the room with the scent of brownies as your cocoa reaches the perfect temperature to release all of those natural flavours.
Congratulations - you’re one step closer to creating a delicious batch of bean-to-bar chocolate. But you ain’t done yet, not even close.
The next step is really gonna separate the wheat from the chaff, so let’s get cracking.
Crack & Winnow
If you realised my hilarious pun, well done - you’re well on your way to becoming a master chocolate-maker. If you didn’t get it, don’t worry - all will become clear.
Now that we’ve roasted our cocoa beans, we need to extract the nib - that’s the part of the bean we are going to use to make our chocolate. The nib is full of good stuff - vitamins, minerals and the all-important polyphenols.
But surrounding the nib is the outer shell of the cocoa bean, the husk. So first, we have to crack the bean open and separate the husk. You don’t want cocoa husk in your chocolate - it’s a fibrous membrane that’s very hard to break down and can increase the viscosity of your chocolate.
You can actually remove the husks by hand - after roasting, the outer shell becomes very brittle making it much easier to peel away. When Phil started making chocolate in his kitchen back in 2013, that’s exactly what he had to do. But no longer.
Nowadays, we use a CPS Cracker like this one here:


Beans go into the hopper at the top where they are slowly put on to a conveyer belt and dropped into the cracker. You don’t want your machine to pulverise the bean, you want it to lightly crack the bean just enough to separate nib from husk - we’re looking for nice big nibs, not a handful of gritty dust. Cocoa beans don’t come in a uniform size, so getting a nice even crack can be tricky.

Once you’ve cracked open the bean, you then have to separate the bit you want (the nib) from the bits you don’t (the husk). That’s where the ancient Greeks come in...
Winnowing - an ancient pastime
Winnowing is an agricultural method dating back to Ancient Greece (and possibly beyond). It’s where we get the phrase “to separate the wheat from the chaff”. And though our technology has changed, the basic principle is exactly the same.
The process of Wind Winnowing uses airflow to separate the grain from the straw, or rather, for our purposes, the nib from the husk.
Here’s how it works:
Inside the winnower is a fan which blows air onto the cracked cocoa beans as they fall through the chamber. Because the husks are very light, the air blows them upwards to another section of the machine to be collected, but the heavier nibs fall straight through into a container below. When you’re finished, you should be left with two buckets - one full of husks, the other full of precious nibs. Zeus would be proud.
You’ll probably end up with some husks in your bucket of nibs. If so, you’ll need to make adjustments to get a cleaner winnow - as a chocolate-maker you’ll always be striving for perfection.
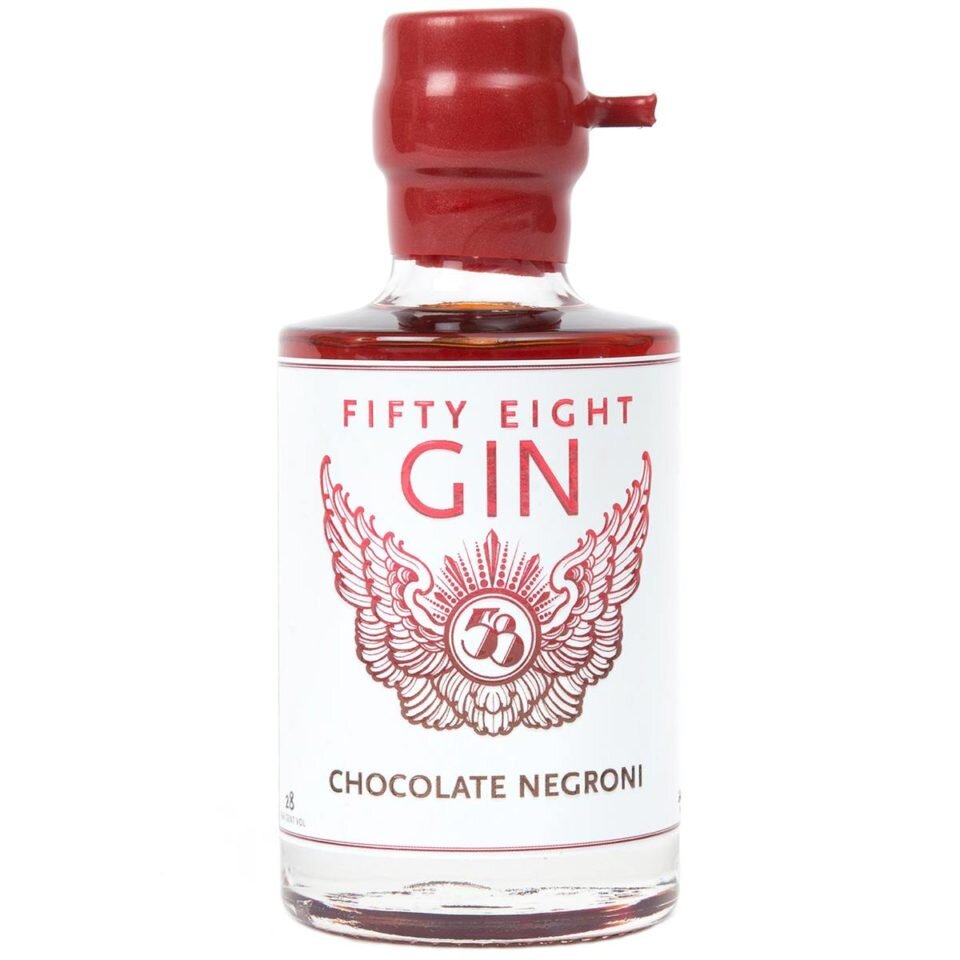
Although the husks are a waste product, they can still be put to good use. Our friends at Pressure Drop Brewery and 58 Gin have turned our husks into things like a Chocolate Stout and a chocolate Negroni mix.


In return Pressure Drop provide us with some of their waste - malt barley grain - which we use to make our 65% Honduras Malt chocolate.
Turning waste into chocolate and beer - everyone wins.
But enough talk of beer, it’s on to the liquor - cocoa liquor, that is...
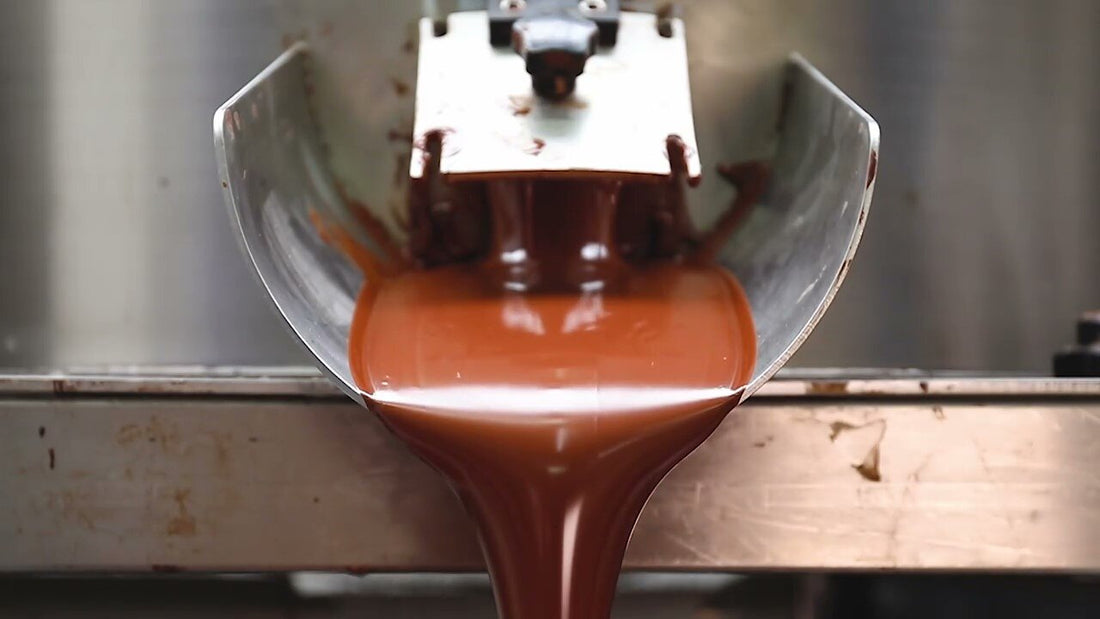
A cocoa bean is made up of about 50% cocoa butter, the naturally occurring fat in chocolate. So, when we apply heat and pressure to cocoa beans, they start to break down into a liquid called cocoa liquor.
We apply this heat and pressure in the most time-consuming part of the bean-to-bar process, the Grind. It’s where our ingredients come together and start to resemble what we recognise as chocolate. So, let’s get back to the grindstone:
The Grind
There are a number of different methods for grinding cocoa nibs. At Land, we use a traditional approach - a stone-granite grinder.

Inside the stainless steel bowl, two enormous granite grinding stones (45kg wheels) rotate on a solid granite base, crushing anything that gets in their way. Gradually, over a period of about 72 hours, we add our cocoa nibs until the grinding stones have done their job.
It’s during this time you’ll also add the other ingredients for making your chocolate. For us, that could mean organic cane sugar, milk powder (for our milk chocolate), malt barley, or oat powder.

The main job of the grinding process is to reduce particle size so that we’re left with something that feels smooth on the tongue.
Particle size is measured in microns - 1 micron equals 1 millionth of a metre. Anything over 25 microns feels grainy on our tongue, whereas 10 microns and under can feel gummy or over-refined. At Land, we aim for 15-25 microns.
The grind also helps to develop flavour by driving off the volatile acids that live in the cocoa, allowing more palatable flavours to come through. However, our ability to affect the flavour at this stage is limited - reducing particle size is the main goal in the grind.
To really amp up our flavour development, we need to move on to the next bean to bar process:
Conching: COMING SOON… But in the meantime you can read our full bean-to-bar process!
References
https://efsa.onlinelibrary.wiley.com/doi/abs/10.2903/j.efsa.2012.2809
https://www.ncbi.nlm.nih.gov/pmc/articles/PMC6720223/#B2-antioxidants-08-00283
https://www.smithsonianmag.com/history/archaeology-chocolate-180954243/
https://en.wikipedia.org/wiki/Winnowing


